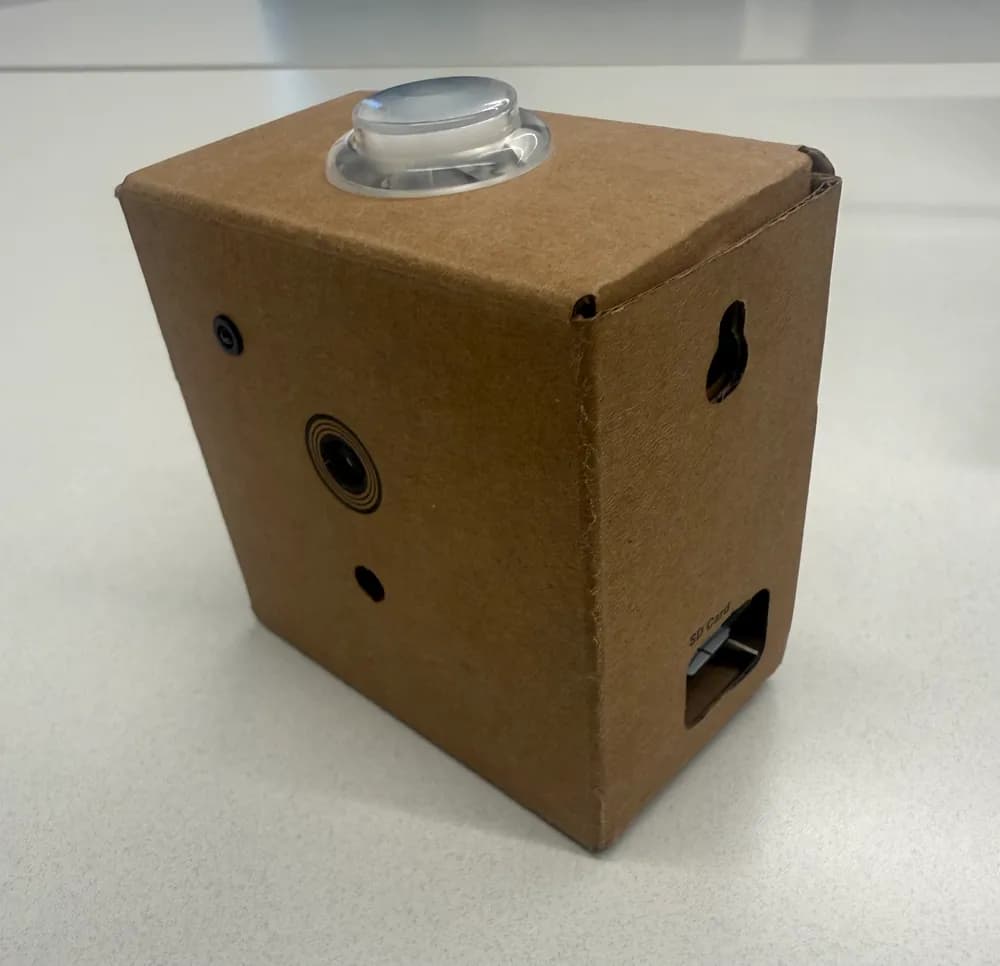
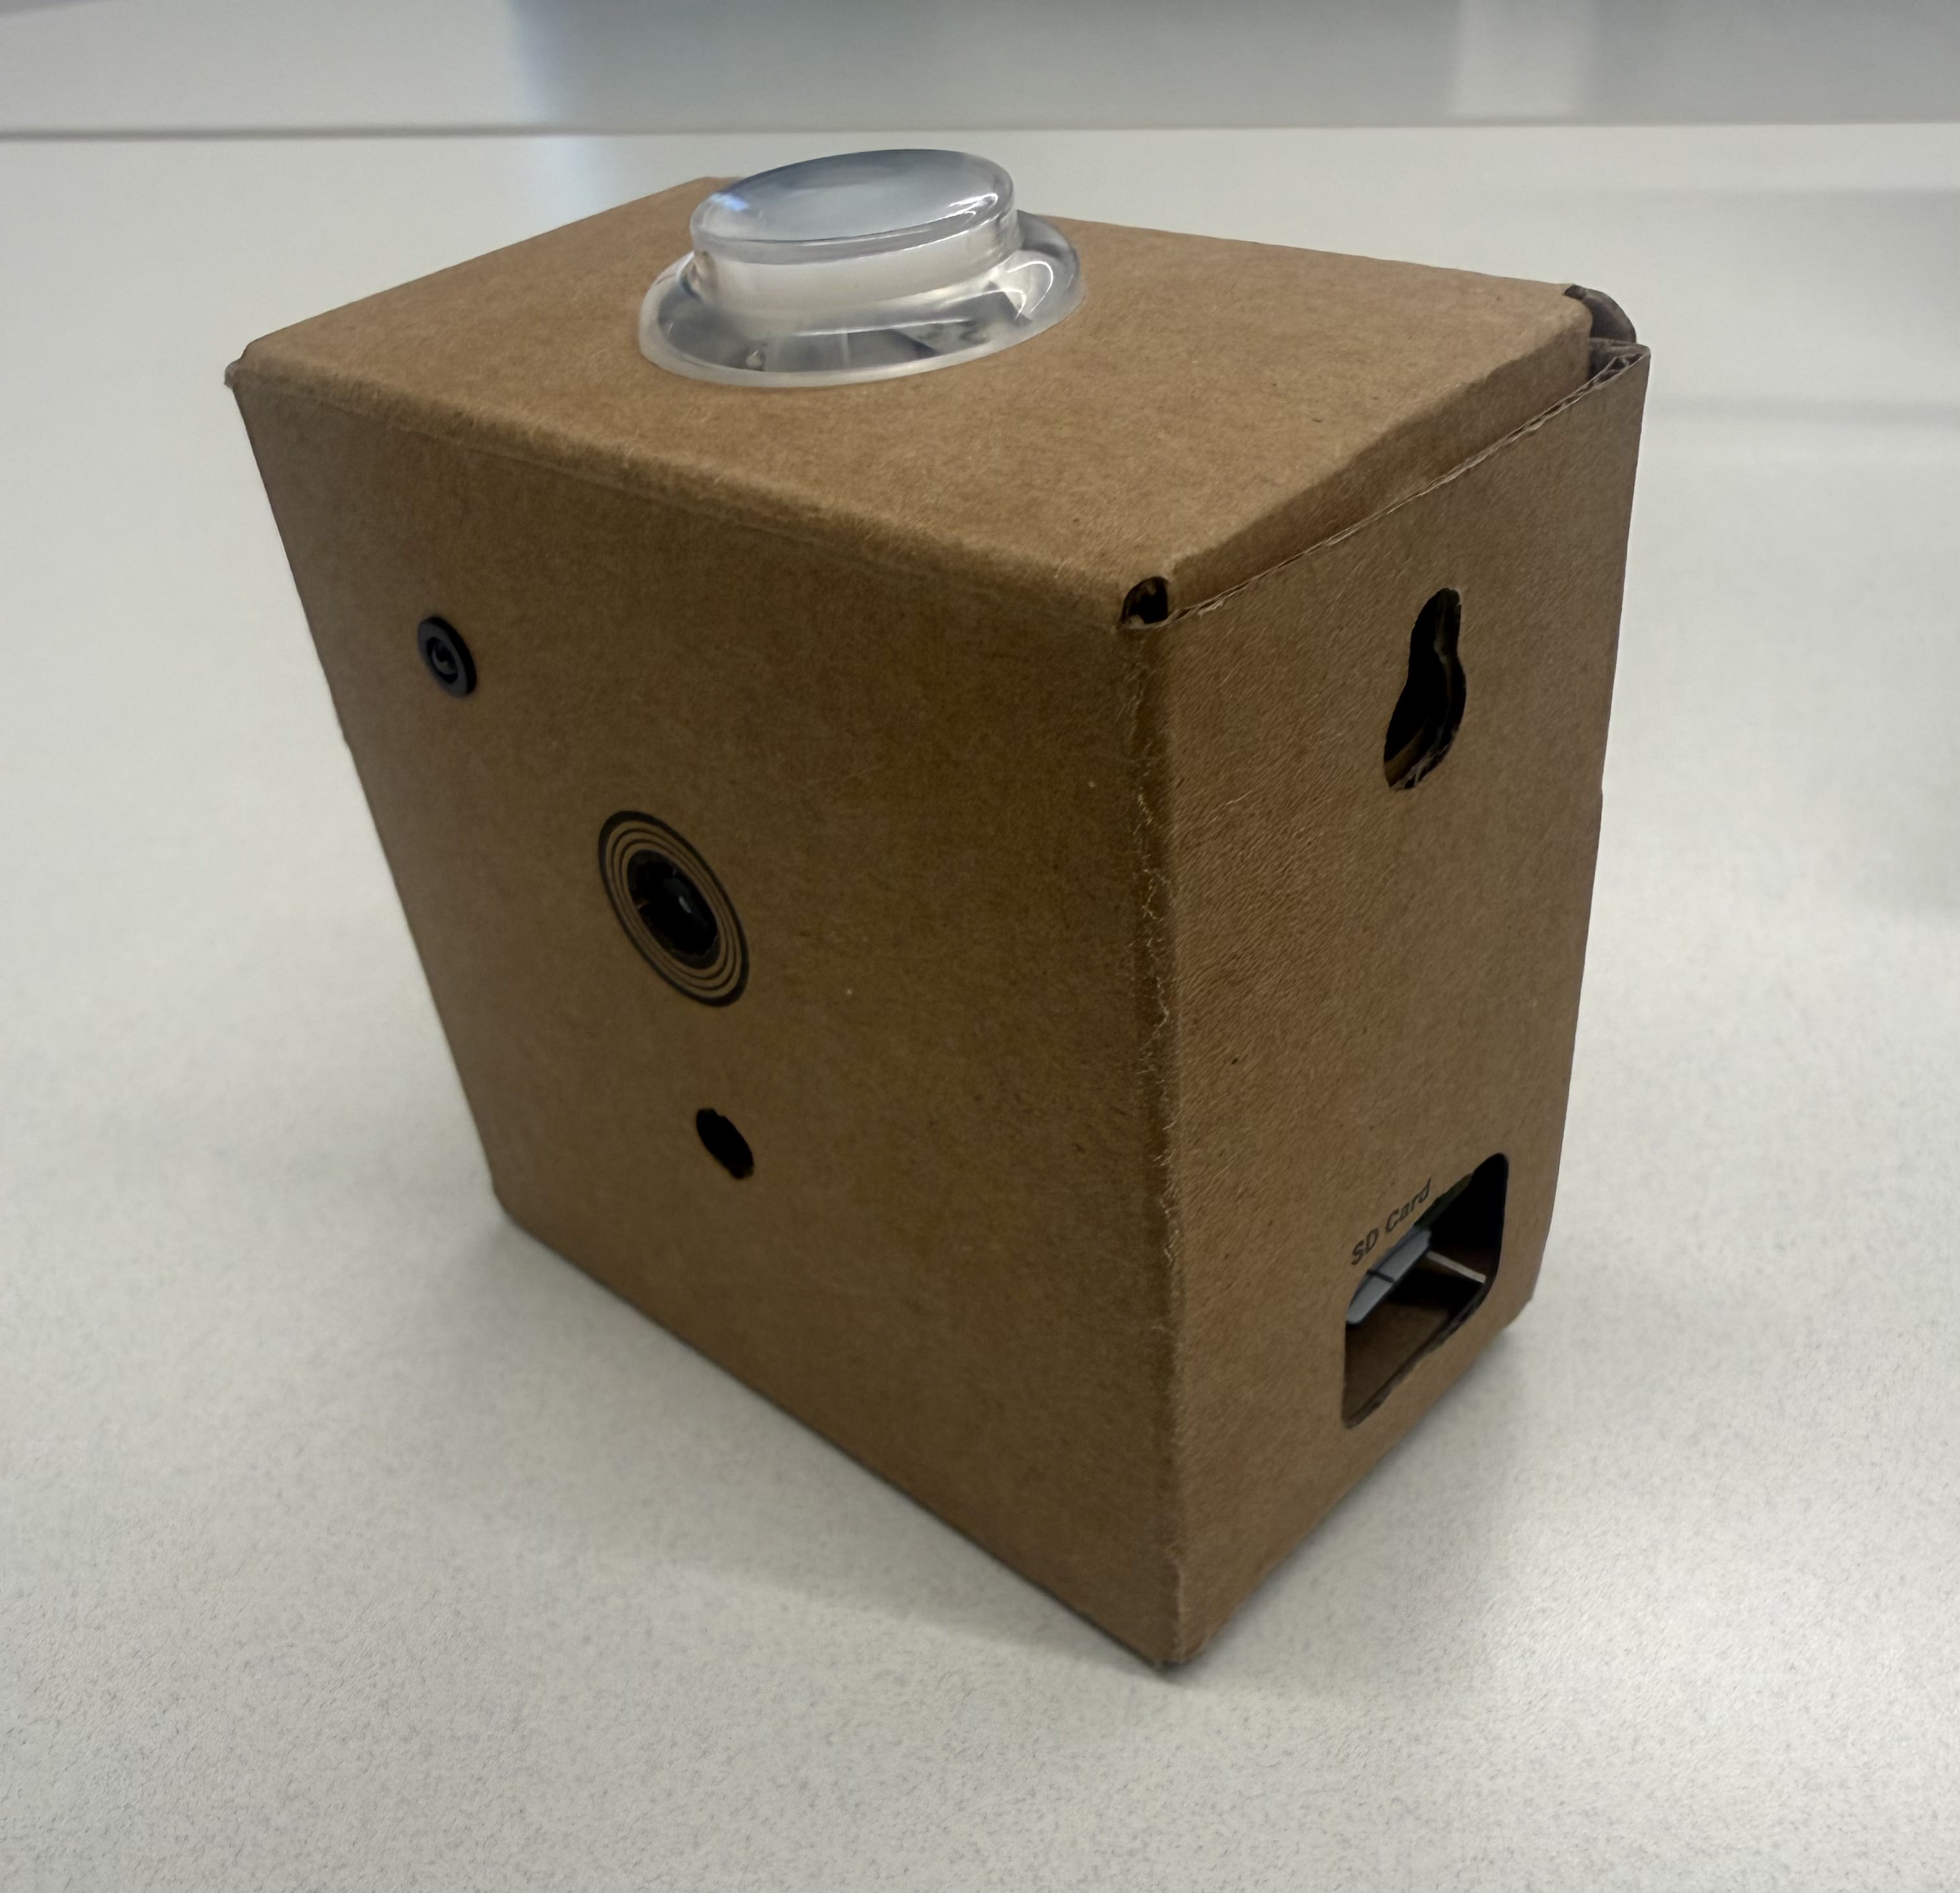
What You'll Build
Build a Google AIY Vision Kit from scratch, test pre-made computer vision models, then train and deploy your own custom Edge AI model that runs completely offline on a Raspberry Pi Zero.
What you'll learn:
- How to assemble and configure embedded vision hardware
- SSH and remote access to Linux systems
- Training custom image classification models
- Deploying TensorFlow Lite models on edge devices
- Real-time inference on resource-constrained hardware
Time: ~2 hours | Level: Beginner (no prior experience needed)
Part 0: Build the Hardware
⏱ Time: 15 minutes
Assemble the Kit
Head to aiyprojects.withgoogle.com/vision and follow their interactive assembly guide. The kit uses cardboard construction – just fold along the lines and connect the components.
Pro tip: The ribbon cables connecting the camera and Pi are fragile. Handle them gently and make sure they're fully seated in the connectors.
Power It Up
- Plug the PWR port (micro USB) into a wall adapter
- Wait 2-3 minutes for the Pi to boot
- You'll hear a beep when it's ready
Part 1: Flash the SD Card
⏱ Time: 10 minutes (skip if your kit already has the OS installed)
Download the OS Image
Go to the AIY Projects Releases Page and download the latest .img.xz file.
Flash the Card
- Insert your microSD card into your computer (ask me for an SD card reader if needed)
- Download and open Raspberry Pi Imager
- Click Choose OS → scroll down → Use custom → select the
.img.xzfile - Click Choose Storage → select your SD card
- Click Write and wait for it to complete
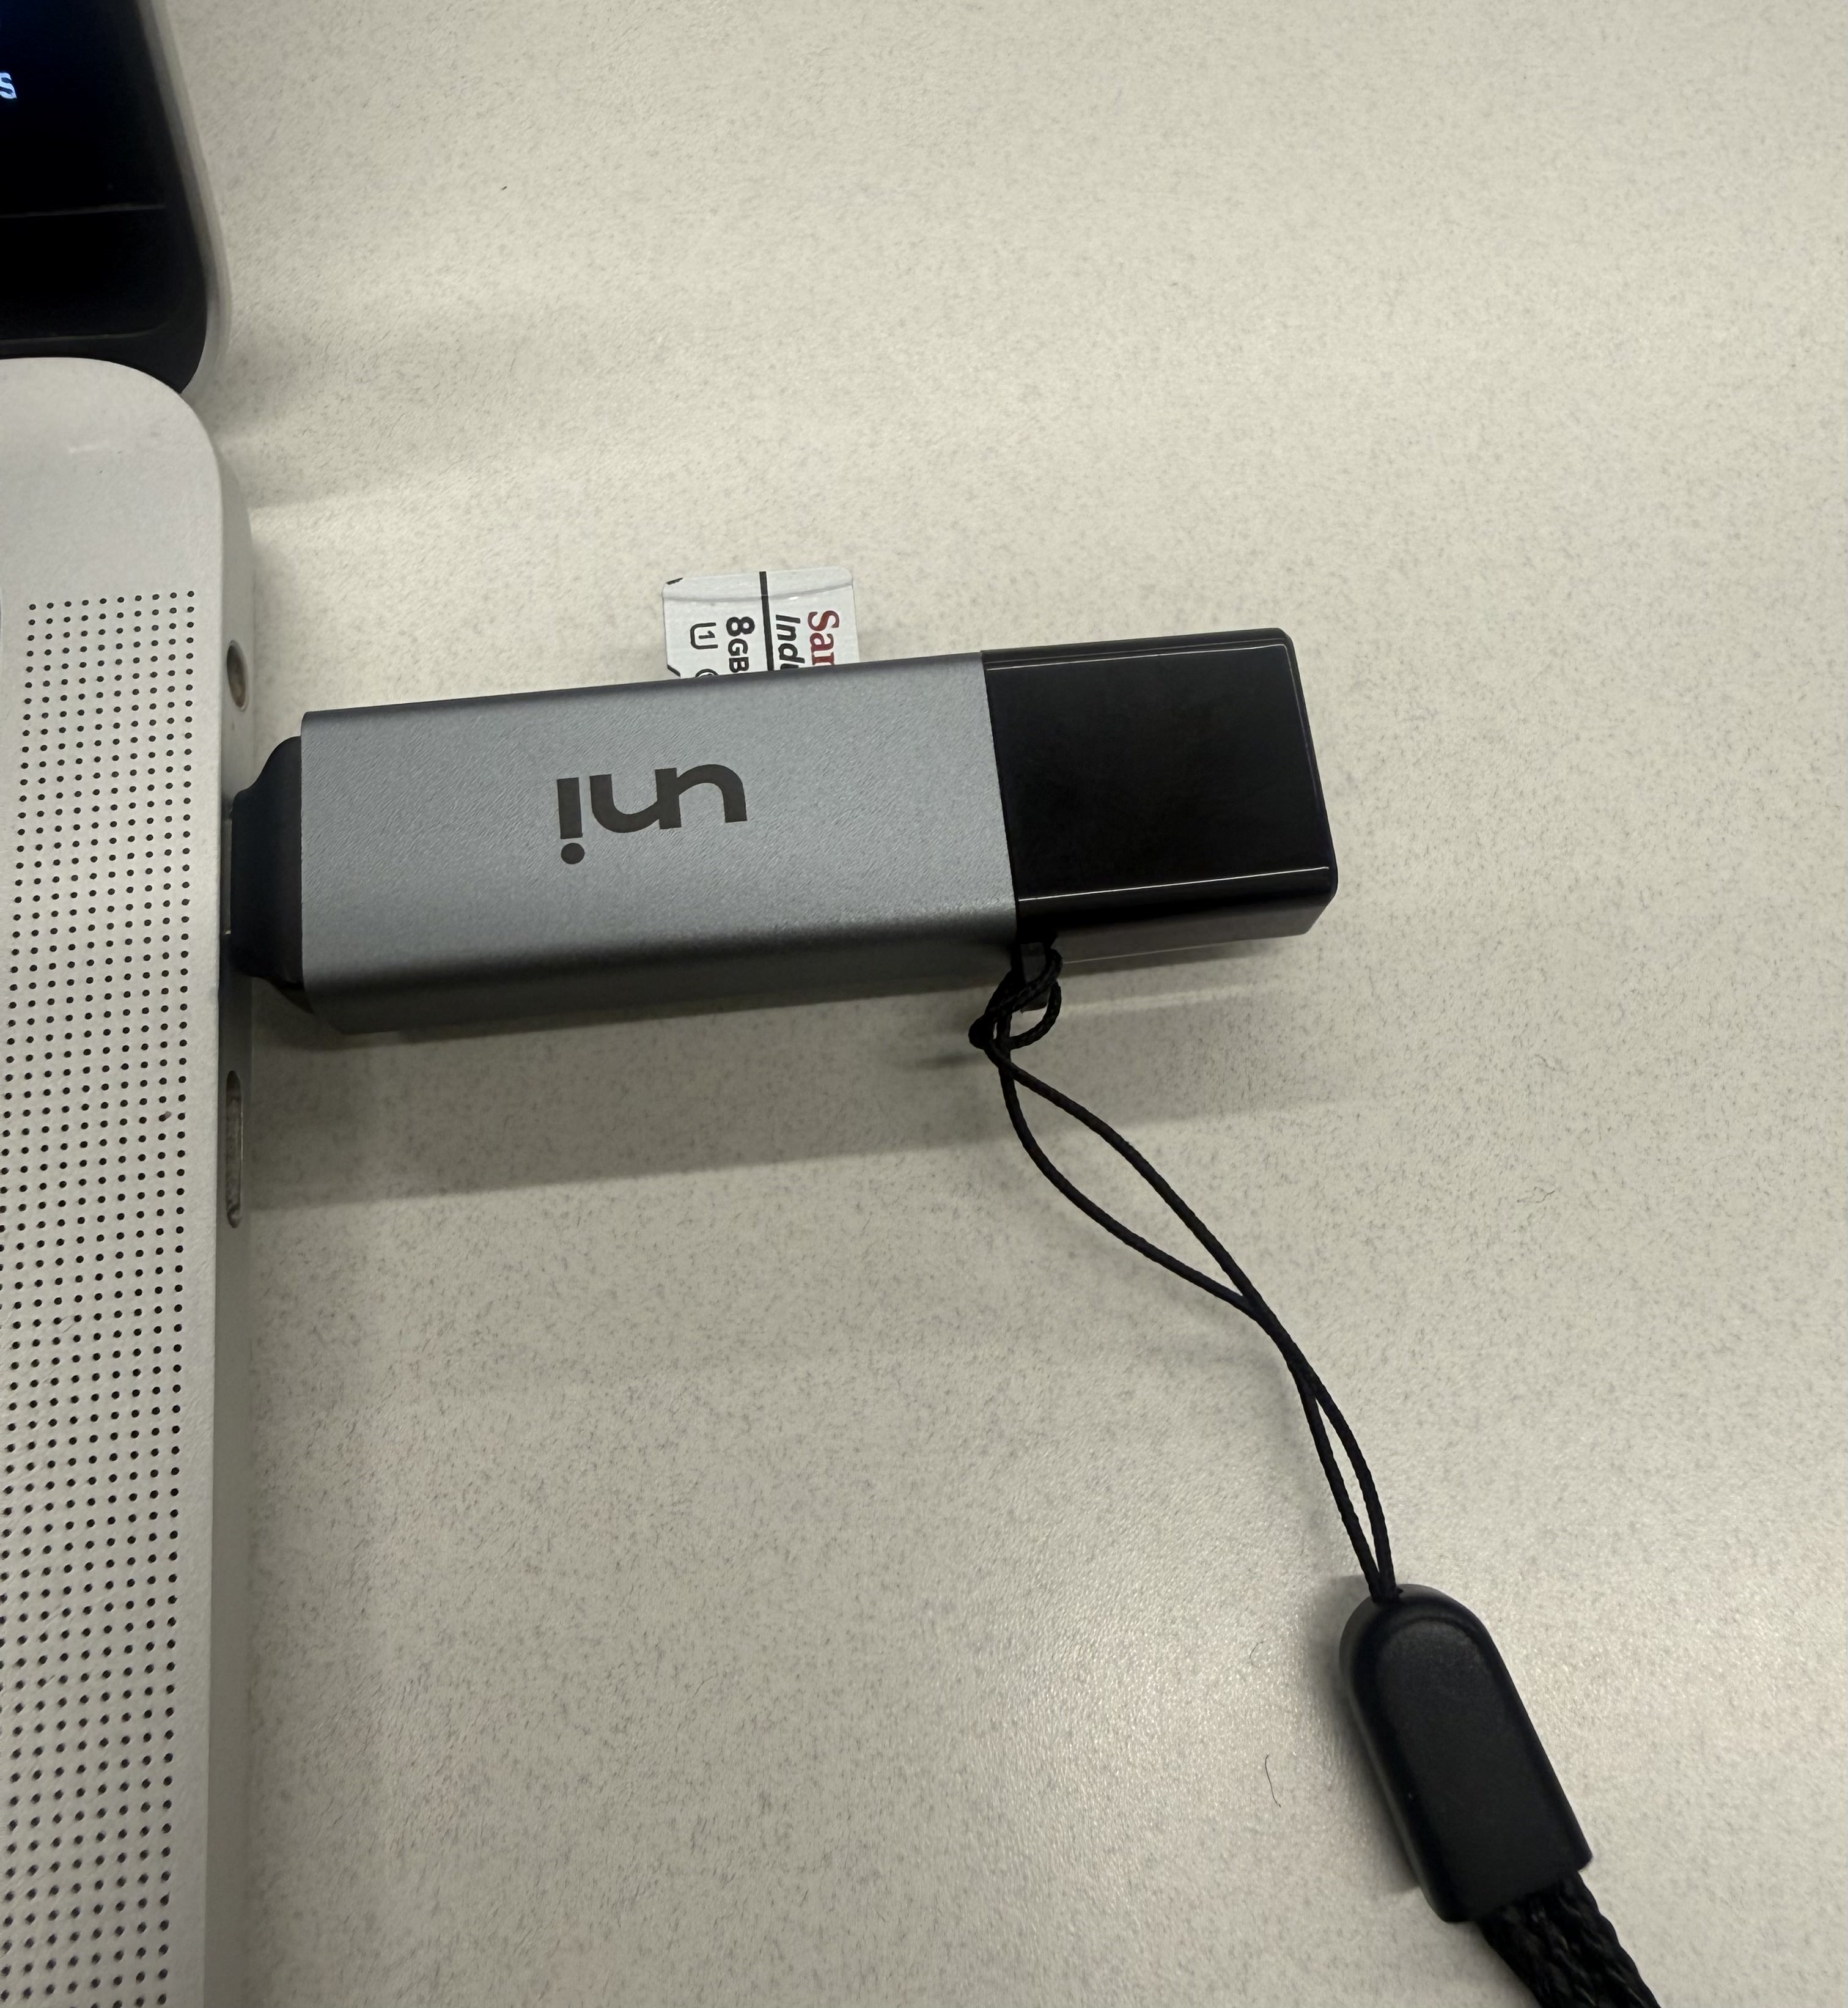
Part 2: Connect to Your Pi
⏱ Time: 10 minutes
SSH Into the Pi
- Plug the USB (Data) port into your laptop
- Wait 2-3 minutes for the Pi to boot (you'll see a light on the button)
- Open Terminal (Mac) or Command Prompt (Windows)
- Connect via SSH:
ssh pi@raspberrypi.local
Password: raspberry
Find the IP Address
Once connected, get the Pi's IP address:
hostname -I
Copy the first IP address shown – you'll need it for VNC.
Enable VNC (Optional)
If you want a graphical interface, enable VNC:
sudo raspi-config
Navigate: 3: Interface Options → P3: VNC → Yes → Finish
Connect with VNC Viewer (Optional)
- Download RealVNC Viewer (free trial, no credit card needed)
- Enter the IP address you copied earlier after opening the app
- Login with username
piand passwordraspberry - Follow the setup wizard (set timezone, skip through next steps)
Stop the Background Demo
The kit runs a "Joy Detector" demo by default, which uses the camera. Stop it:
sudo systemctl stop joy_detection_demo
Part 2.5: Try Pre-Installed Models (Optional)
⏱ Time: 10 minutes
Want to see what the kit can do before training your own model? Try the built-in demos.
Navigate to Examples
cd ~/AIY-projects-python/src/examples/vision
Run Face Detection
python3 face_detection_camera.py
Check the VNC viewer window – you should see boxes around detected faces in real-time.
Stop it: Press Ctrl+C
See other demos: Type ls to list available scripts.
Cleanup
Delete old photos to free up space:
rm ~/Pictures/*.jpg
Part 3: Train Your Own Model
⏱ Time: 20 minutes
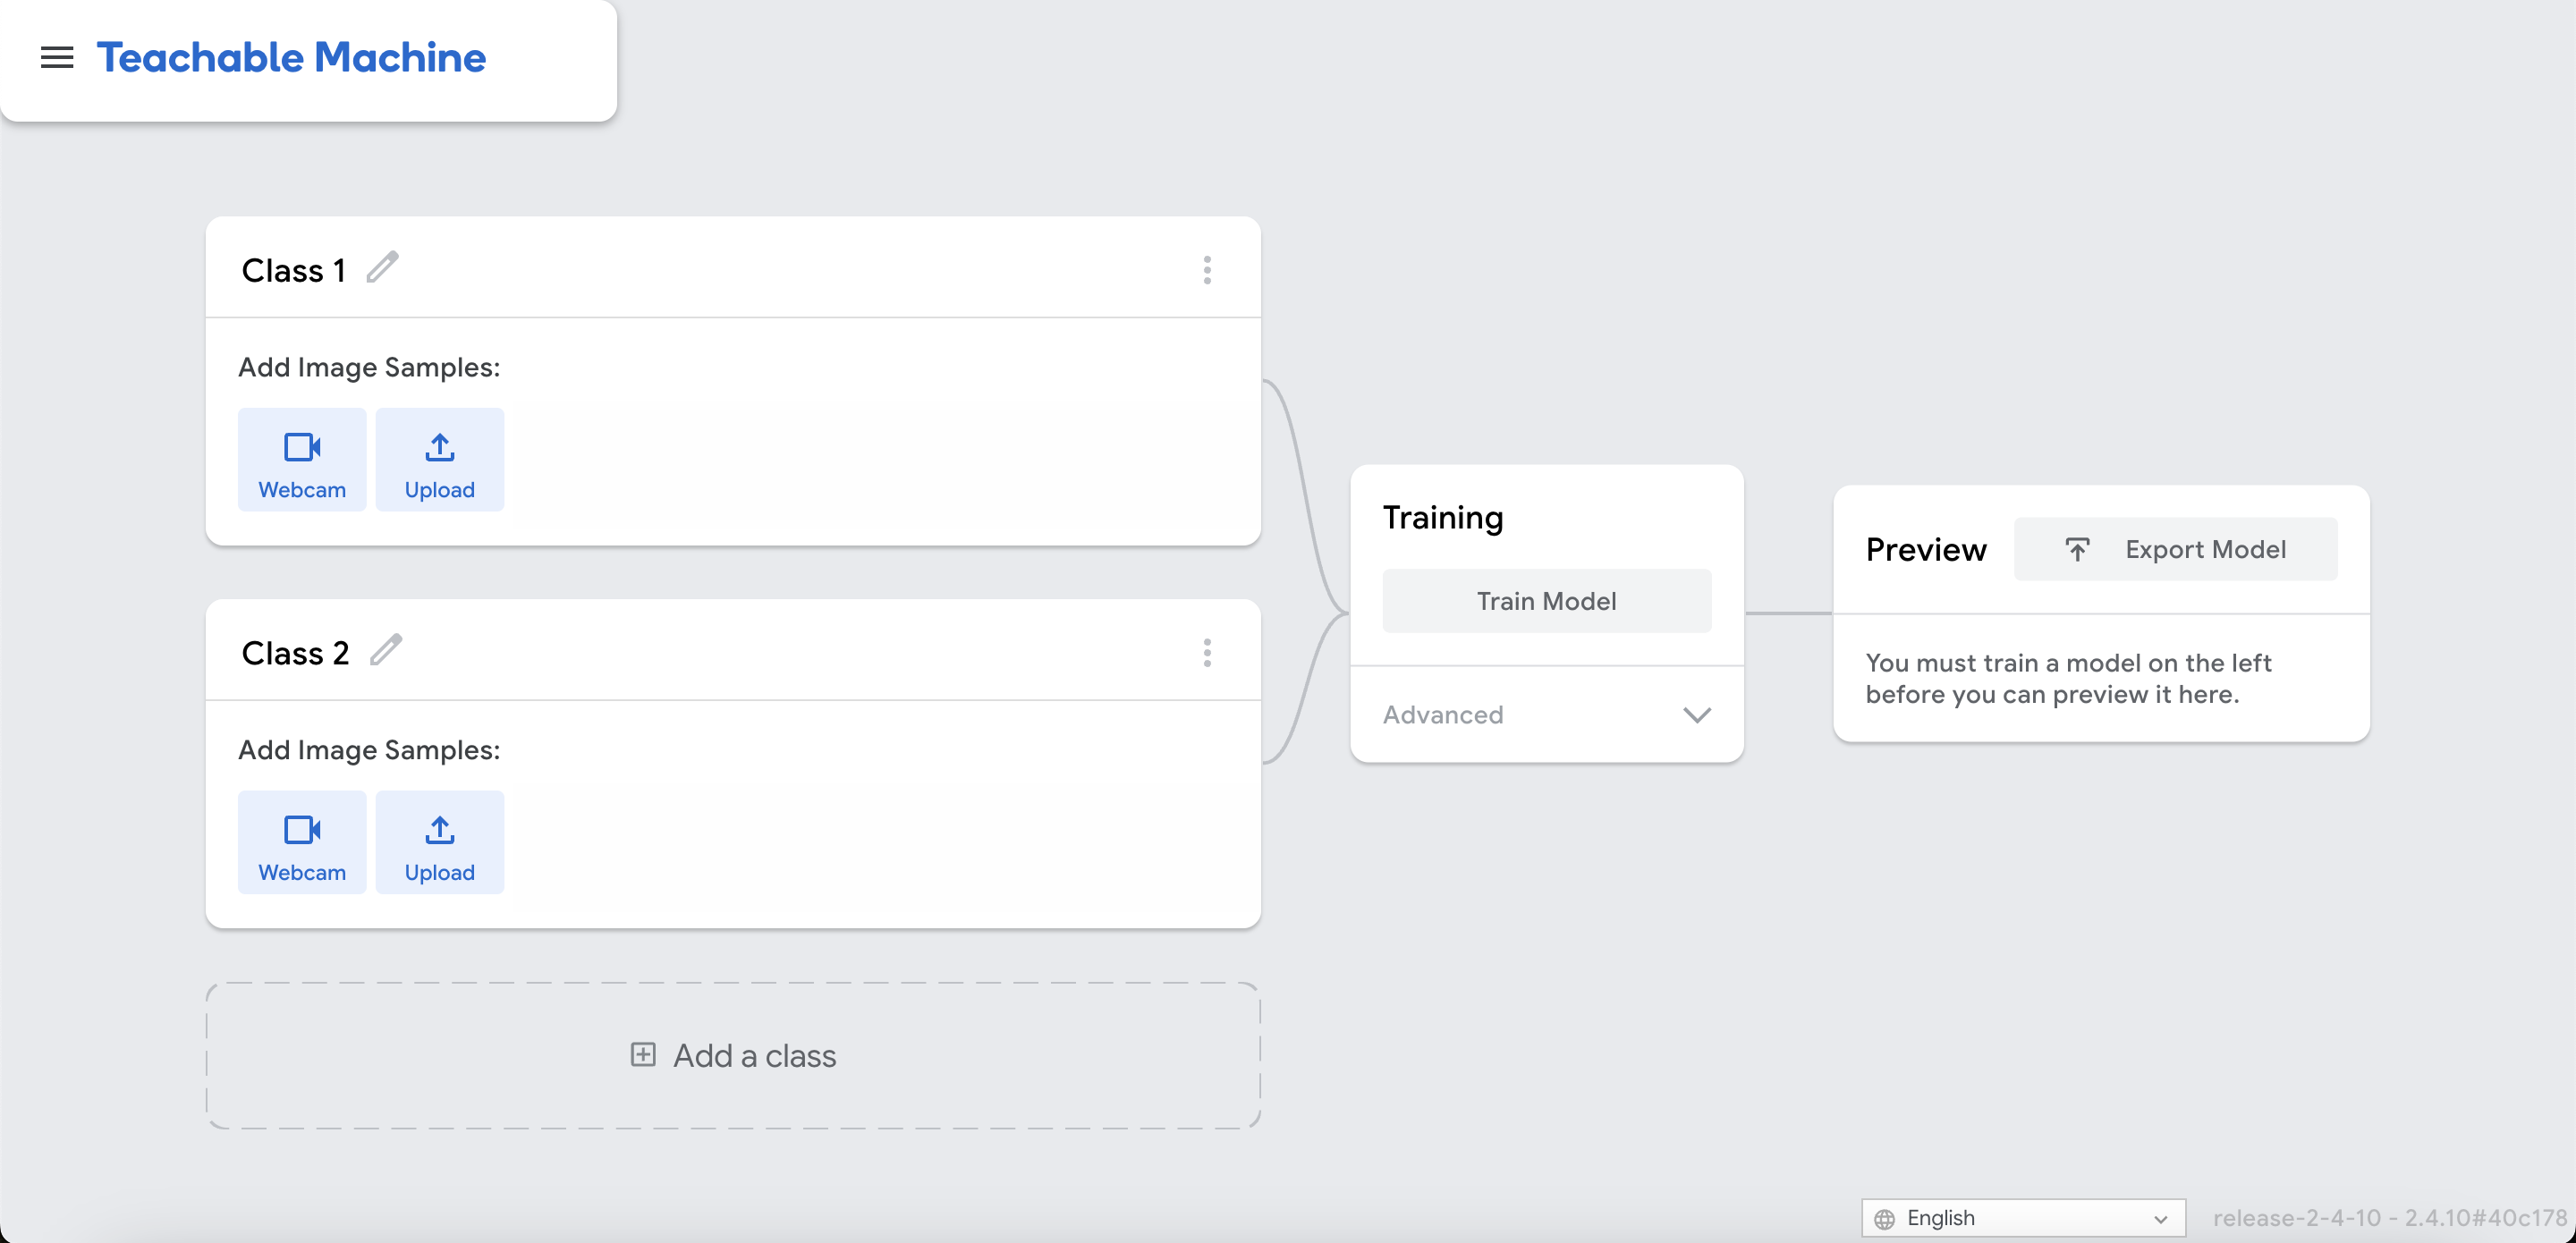
Open Teachable Machine
Visit teachablemachine.withgoogle.com/train/image
Create Your Classes
Define 2-3 categories you want to detect. Examples:
- Thumbs Up / Thumbs Down / Peace Sign
- Object Present / Object Absent
- Red Object / Blue Object / Green Object
The script works with any classes you choose – it automatically adapts to your model.
Capture Training Data
For each class:
- Click Webcam under the class
- Hold down Hold to Record and capture 200-300 images
- Move around, change angles, vary lighting – diversity improves accuracy
Tip: For negative/background classes, capture your environment from different angles.
Train the Model
- Click Train Model (purple button)
- Wait for training to complete (~2-3 minutes)
- Test it with your webcam – does it work?
Export for Raspberry Pi
- Click Export Model
- Select TensorFlow Lite tab
- Select Quantized (required for Pi Zero's limited memory)
- Click Download my model
Extract the Files
Unzip the downloaded file. You'll need two files:
model.tflite– your trained modellabels.txt– class names
Part 4: Deploy to the Pi
⏱ Time: 15 minutes
Transfer the Model Files
Open a new terminal on your laptop (keep the SSH one open) and navigate to your downloads:
cd ~/Downloads/converted_tflite_quantized
Send the files to the Pi:
scp model.tflite labels.txt pi@raspberrypi.local:~/
Download the TFLite Runtime
The Pi Zero needs a special version of TensorFlow Lite to run models efficiently.
Download TFLite Runtime (.whl) ← Right-click and "Save Link As"
Transfer the Runtime
From your laptop terminal:
scp ~/Downloads/tflite_runtime-2.5.0-cp37-cp37m-linux_armv6l.whl pi@raspberrypi.local:~/
Part 5: Install and Run
⏱ Time: 20 minutes
Install the Runtime
Back in your SSH terminal, install the TFLite runtime:
pip3 install tflite_runtime-2.5.0-cp37-cp37m-linux_armv6l.whl
Create the Inference Script
Create a new Python file:
nano custom_model.py
Paste the Code
Copy this entire script and paste it into the terminal (right-click to paste):
#!/usr/bin/env python3

import time
import numpy as np
from picamera import PiCamera

try:
    import tflite_runtime.interpreter as tflite
except ImportError:
    try:
        import tensorflow.lite.python.interpreter as tflite
    except ImportError:
        print("CRITICAL ERROR: No TFLite runtime found.")
        print("Please ensure you installed the .whl file.")
        exit(1)

# CONSTANTS
MODEL_PATH = 'model.tflite'
LABELS_PATH = 'labels.txt'

def load_labels(filename):
    with open(filename, 'r') as f:
        return [line.strip() for line in f.readlines()]

def main():
    print("-----------------------------------")
    print("Initializing System...")

    # 1. LOAD MODEL
    interpreter = tflite.Interpreter(model_path=MODEL_PATH)
    interpreter.allocate_tensors()

    # 2. DEBUG MODEL DETAILS
    input_details = interpreter.get_input_details()
    output_details = interpreter.get_output_details()

    height = input_details[0]['shape'][1]
    width = input_details[0]['shape'][2]
    input_index = input_details[0]['index']
    output_index = output_details[0]['index']

    model_dtype = input_details[0]['dtype']
    print(f"Model Input Shape: {width}x{height}")
    print(f"Model Data Type:   {model_dtype}")

    labels = load_labels(LABELS_PATH)
    print("-----------------------------------")

    with PiCamera() as camera:
        camera.resolution = (640, 480)
        camera.framerate = 30
        camera.start_preview()

        # Buffer matches model type (uint8 for quantized)
        image_data = np.empty((width, height, 3), dtype=np.uint8)

        print("Stream Active. Press Ctrl+C to stop.")

        try:
            while True:
                # 3. CAPTURE (Hardware Resize)
                camera.capture(image_data, format='rgb', resize=(width, height))

                # 4. PREPARE INPUT
                input_tensor = np.expand_dims(image_data, axis=0)

                # SAFETY CHECK: Handle Float models if necessary
                if model_dtype == np.float32:
                    input_tensor = (np.float32(input_tensor) - 127.5) / 127.5

                # 5. INFERENCE
                start_time = time.time()
                interpreter.set_tensor(input_index, input_tensor)
                interpreter.invoke()
                output_data = interpreter.get_tensor(output_index)
                end_time = time.time()
                latency = (end_time - start_time) * 1000

                # 6. DECODE OUTPUT
                if output_details[0]['dtype'] == np.uint8:
                    scale, zero_point = output_details[0]['quantization']
                    if scale == 0:
                        confidence = output_data[0] / 255.0
                    else:
                        confidence = (output_data[0] - zero_point) * scale
                else:
                    confidence = output_data[0]

                top_index = np.argmax(confidence)
                score = confidence[top_index]
                label = labels[top_index]

                print(f"Pred: {label:<15} | Conf: {score*100:5.1f}% | Latency: {latency:.0f}ms", end='\r')

        except KeyboardInterrupt:
            print("\nStopping...")

if __name__ == '__main__':
    main()
Save and exit: Press Ctrl+X, then Y, then Enter
What This Script Does
- Loads your custom TFLite model
- Captures frames from the camera at 30 FPS
- Runs inference on each frame
- Displays predictions with confidence scores and latency in real-time
Run Your Model
python3 custom_model.py
You should see live predictions in the terminal! Point the camera at different objects and watch it classify in real-time.
Expected performance: ~100-300ms latency per frame on the Pi Zero.
Part 6: Shut Down Safely
⚠️ WARNING: Never unplug the Pi without shutting down properly! The SD card is constantly being written to, and pulling the plug can corrupt it, forcing you to reflash from Part 1.
Proper Shutdown
sudo shutdown -h now
Wait ~10 seconds until the green LED stops flashing. The SSH connection will close automatically.
Clean Up
- Leave the kit assembled with the sd card inside
- Return all cables and power adapters
- Clean up your workspace
- Let us know if your kit is damaged
Troubleshooting
SSH Connection Issues
- Connection refused? Wait 3-5 minutes for the Pi to fully boot
- Can't connect? Check the USB cable is in the Data port, not PWR
- Still not working? Try
ssh pi@raspberrypiinstead of.local
Model Issues
- Model not loading? Verify you selected Quantized when exporting from Teachable Machine
- Files not found? Check that
model.tfliteandlabels.txtare in the home directory (~/) - Import errors? Verify TFLite runtime is installed:
pip3 list | grep tflite
Hardware Issues
- Camera not detected? Ensure the ribbon cable is fully inserted in both connectors
- Camera in use? Stop the background demo:
sudo systemctl stop joy_detection_demo
Performance Issues
- Low accuracy? Capture more training images (aim for 300+ per class)
- Inconsistent results? Add more variety in backgrounds, angles, and lighting
- Works in training but not deployment? Match lighting conditions between training and real-world use
Congratulations! You just built an embedded computer vision system from scratch and deployed a custom AI model that runs completely offline. This is the foundation of edge AI – the same technology used in security cameras, drones, and IoT devices.
Next steps:
- Try training a more complex model with 4-5 classes
- Experiment with different objects and gestures
- Modify the Python script to trigger actions based on predictions
- Explore other AIY examples for object detection and face recognition